How to use situ.art
Everything you can do in the app, step by step. On a phone, tap wherever this guide says click.
Home
The app opens on Home: a grid of rooms with a sample painting hung in each one at its real size. Add your own work and every room updates.
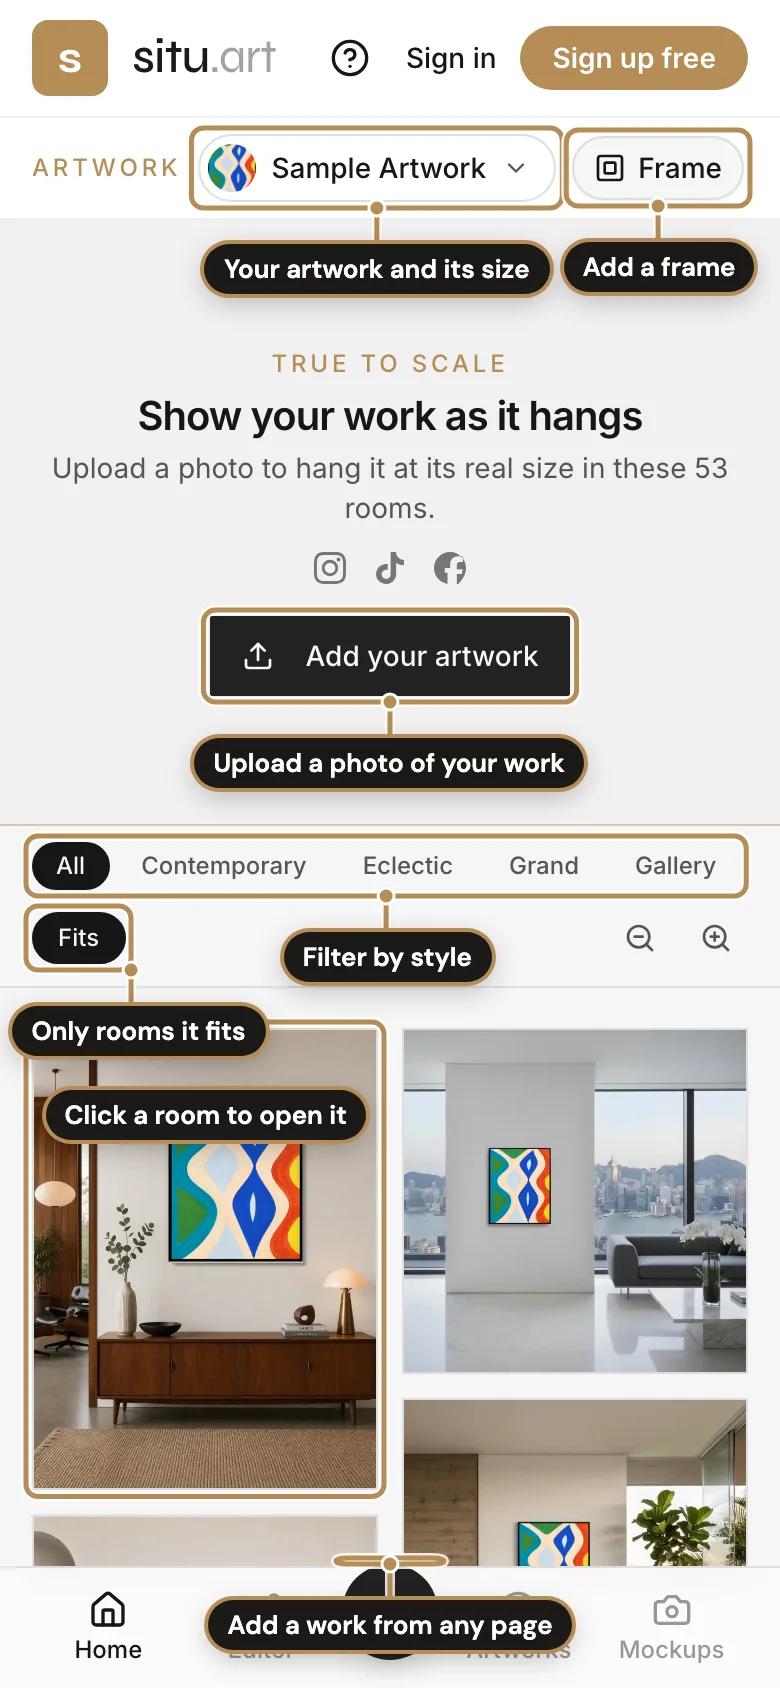
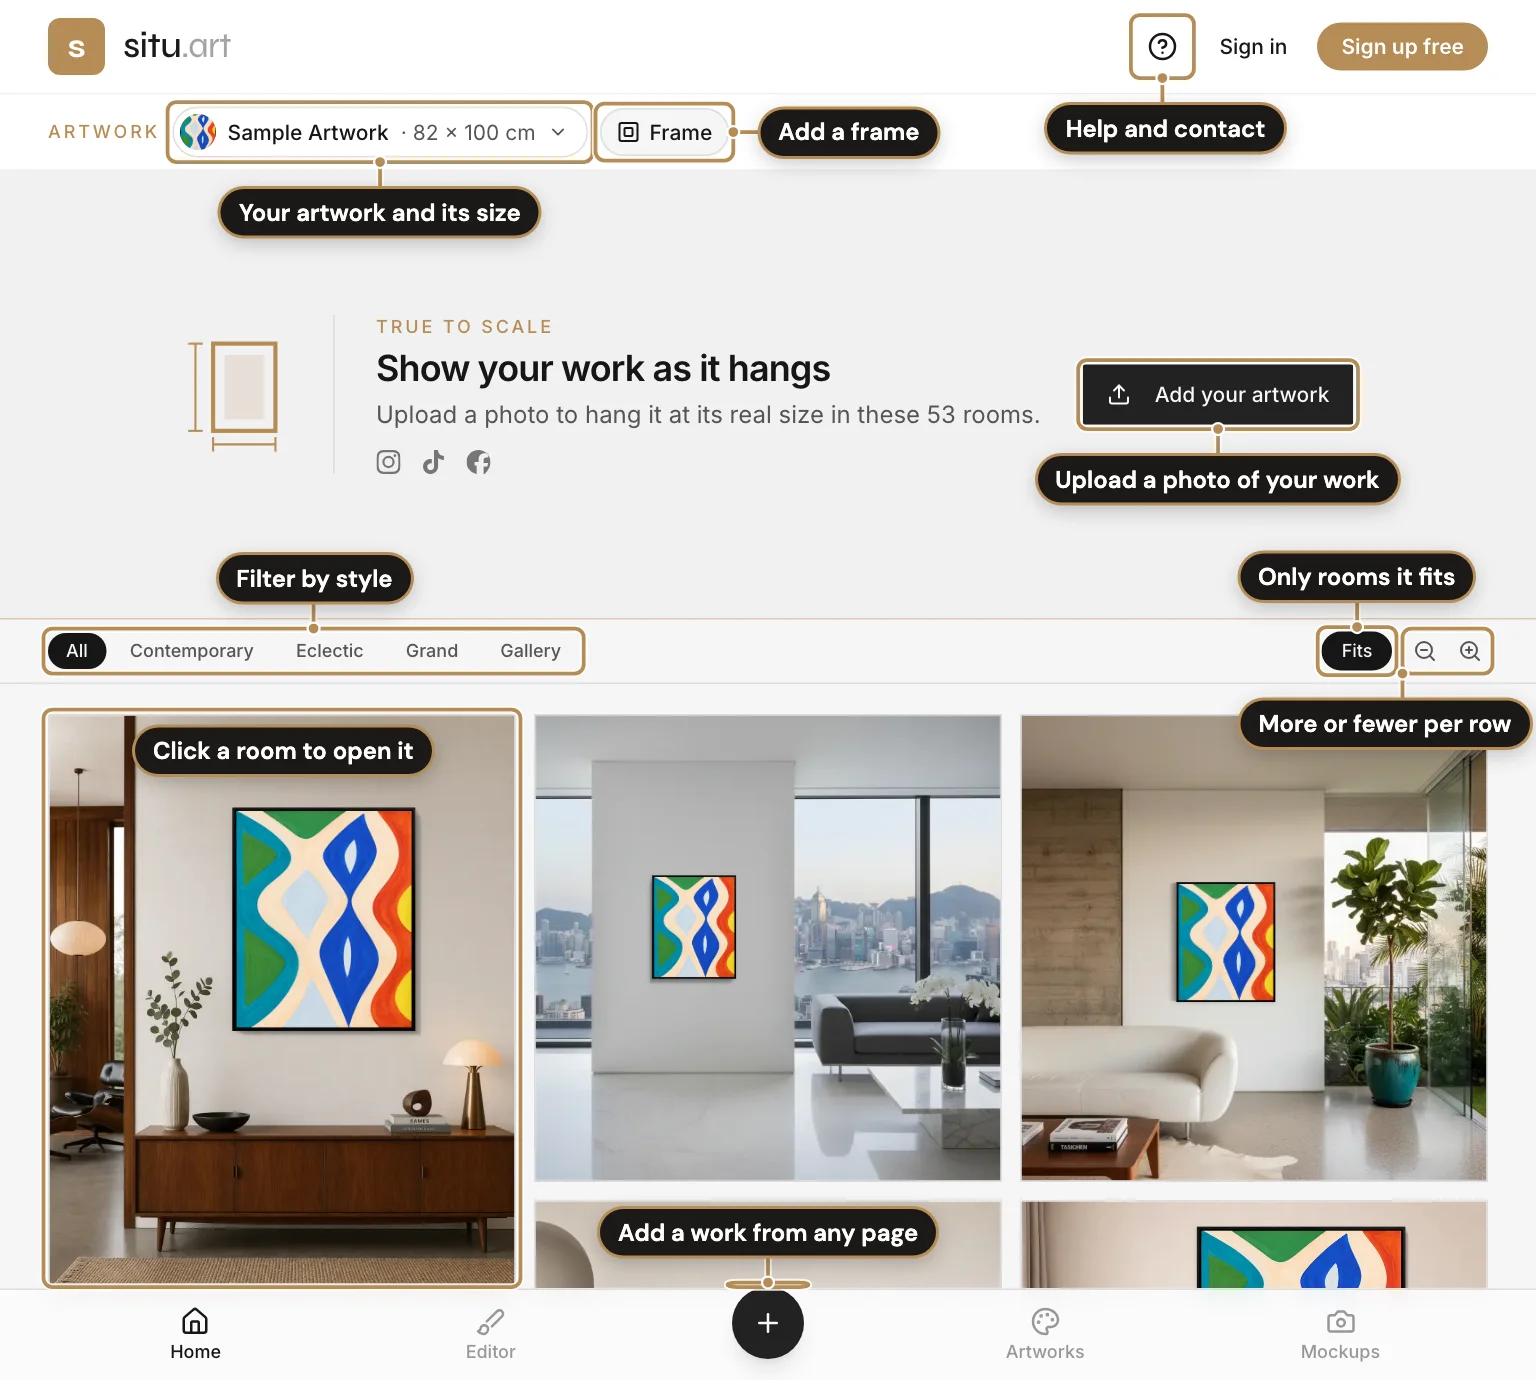
Fits is on to start with, so rooms whose walls are too small for your work stay hidden. Turn it off to see every room. Without an account you can try 2 works in a selection of featured rooms; a free account saves your work, opens the full room library and adds AI images.
Change your artwork’s size or title
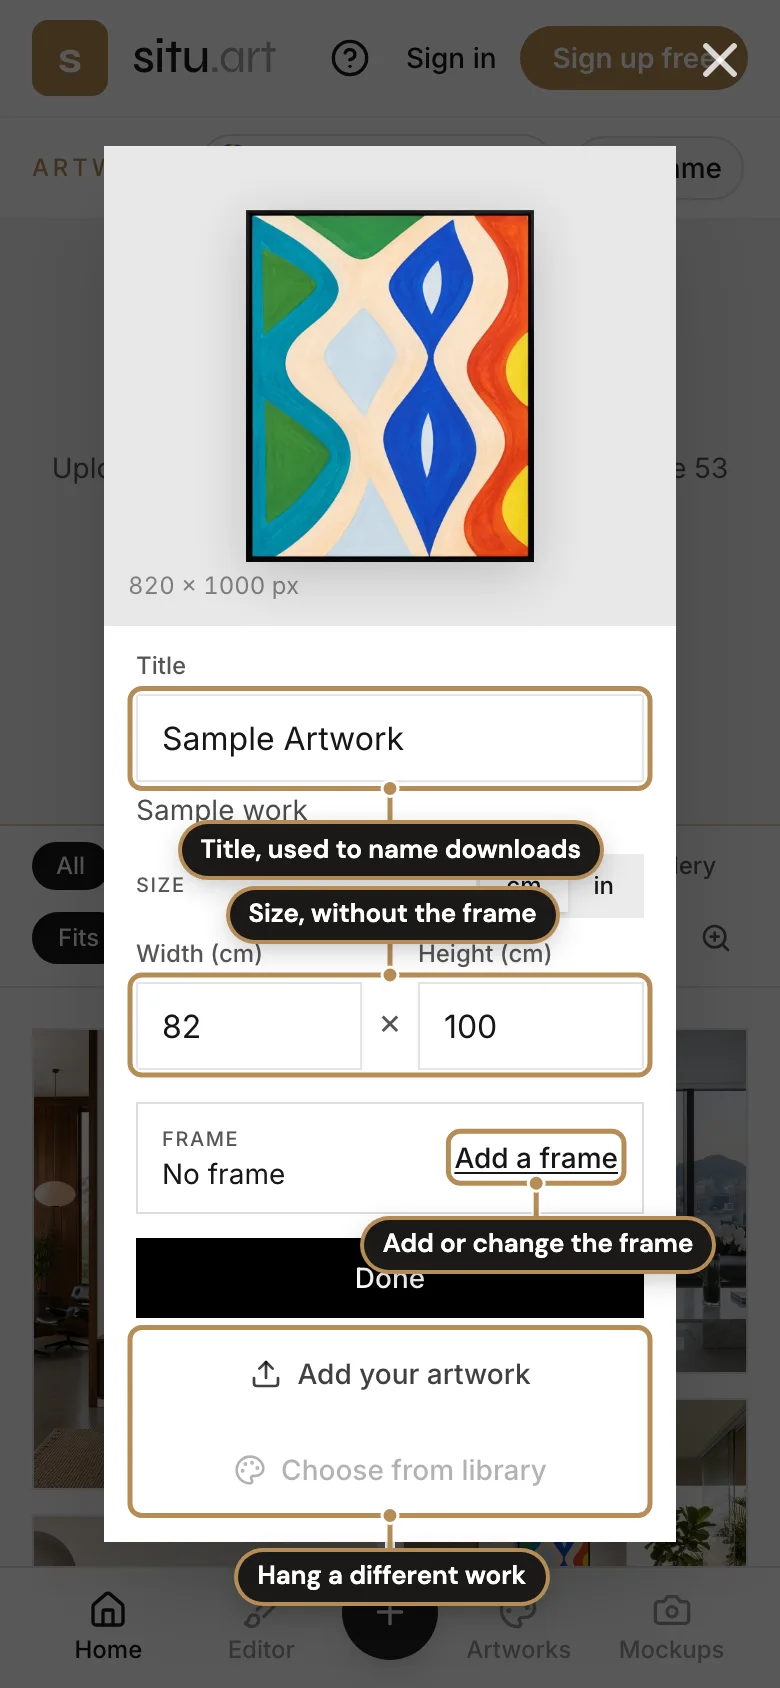
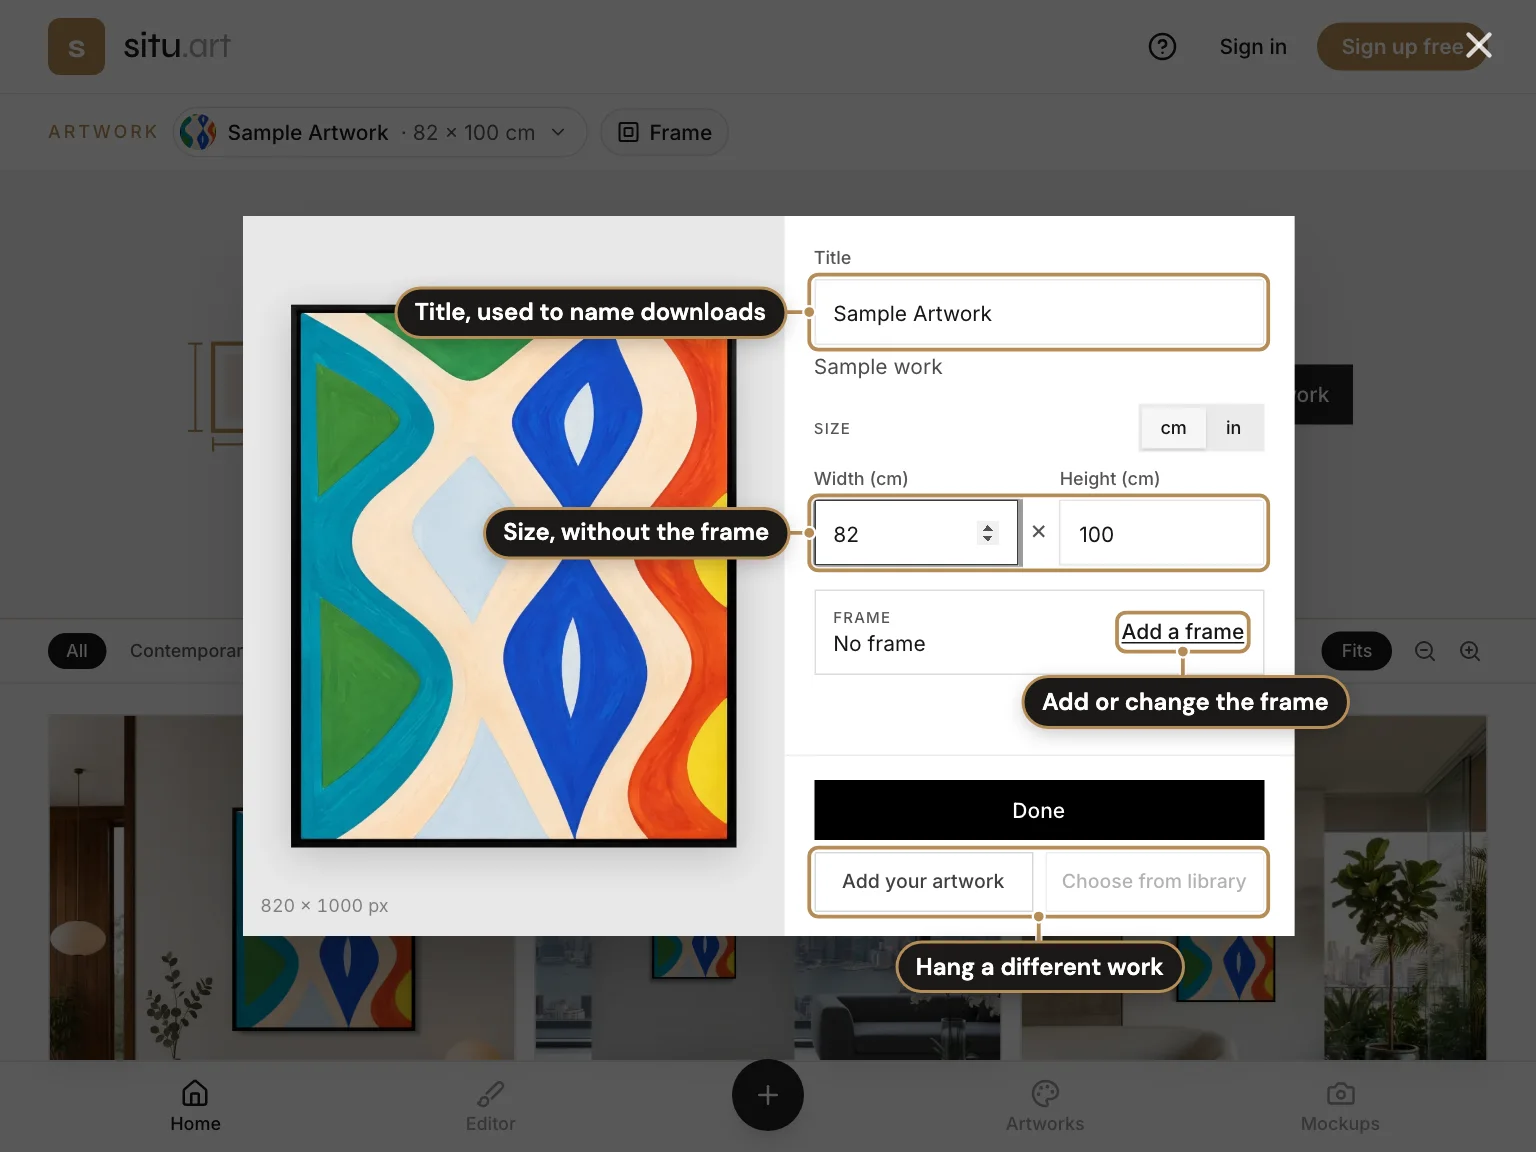
Click your artwork in the strip at the top of Home or the Editor to change its title, size or frame. The rooms update as you type.
Open a room and download it
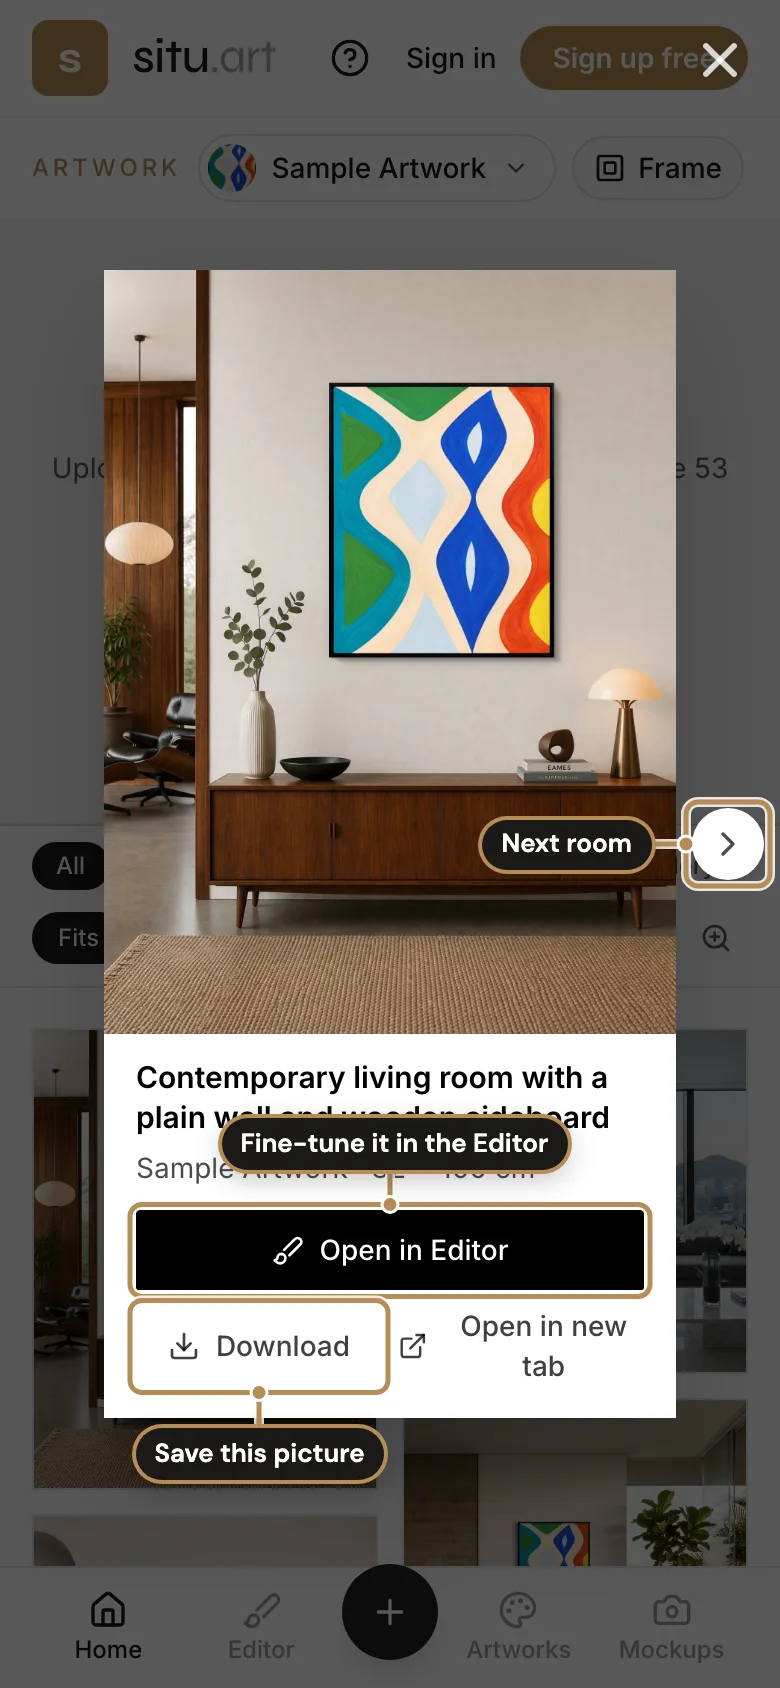
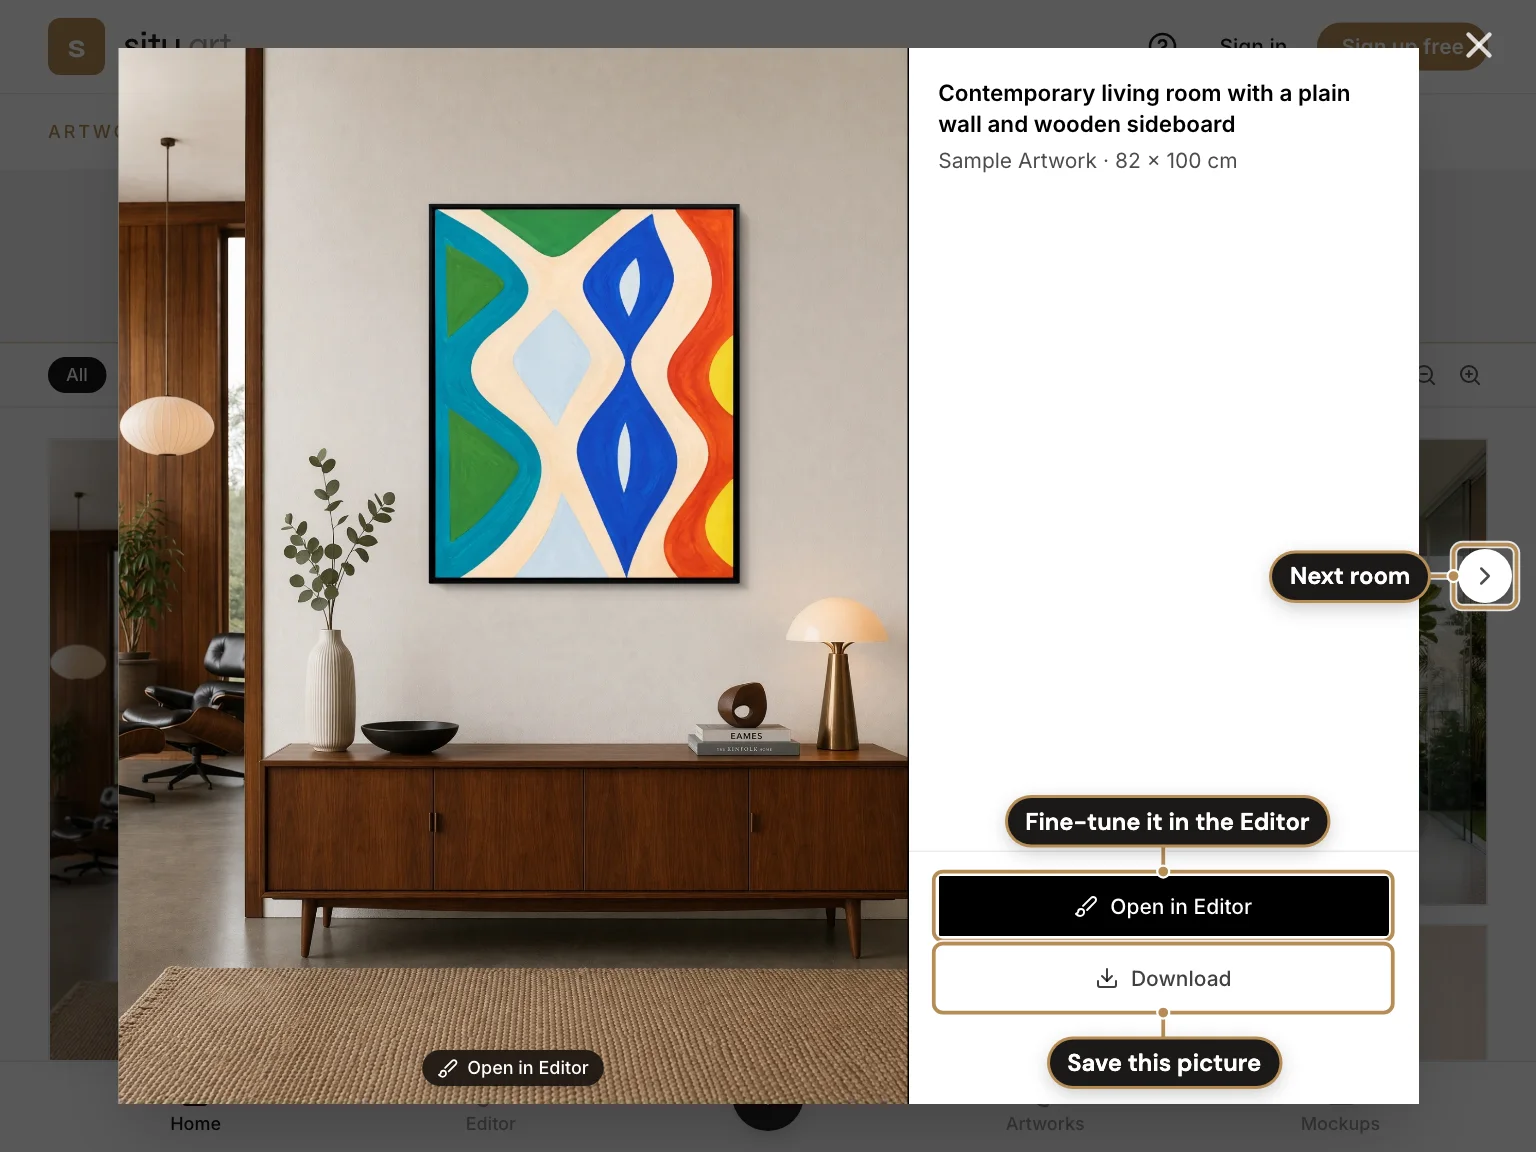
Click any room on Home to see it full size. Step through the rooms with the arrows, the arrow keys, or a swipe on a phone.
Uploading artwork
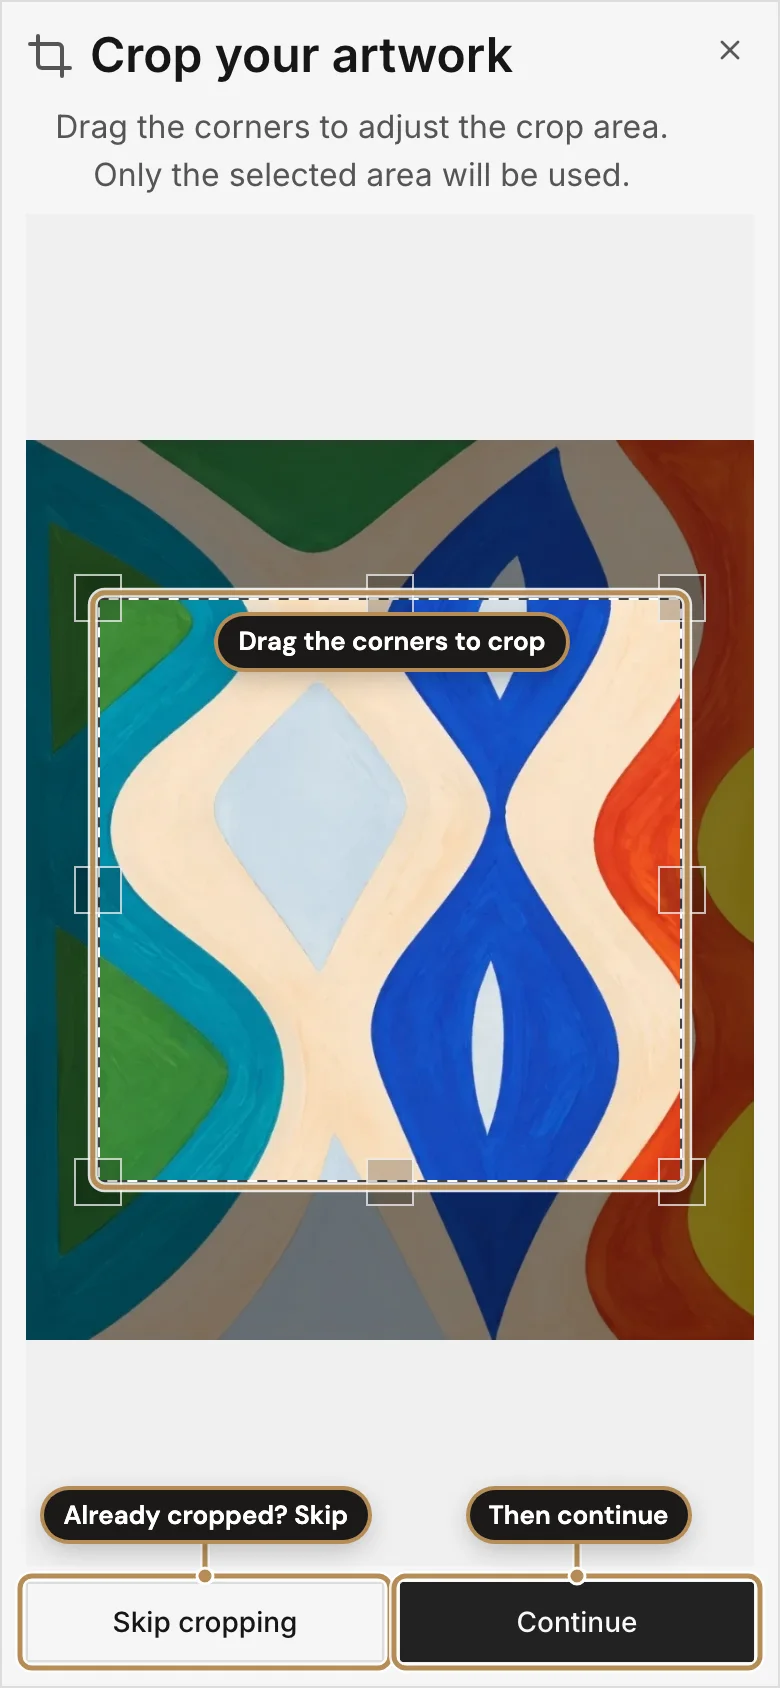
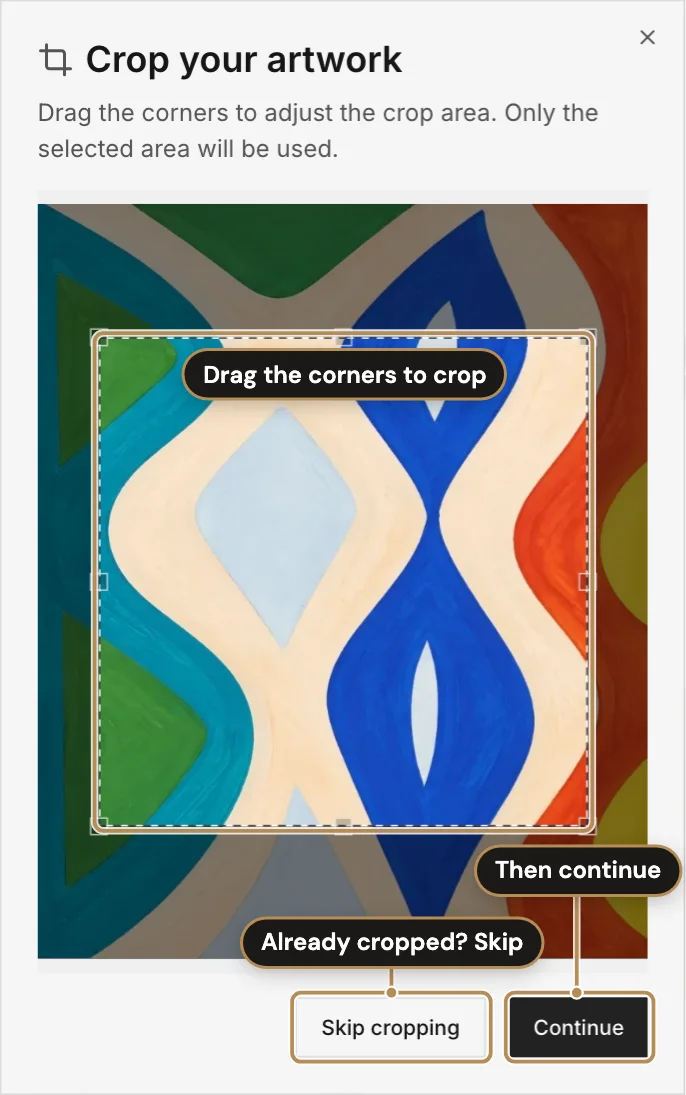
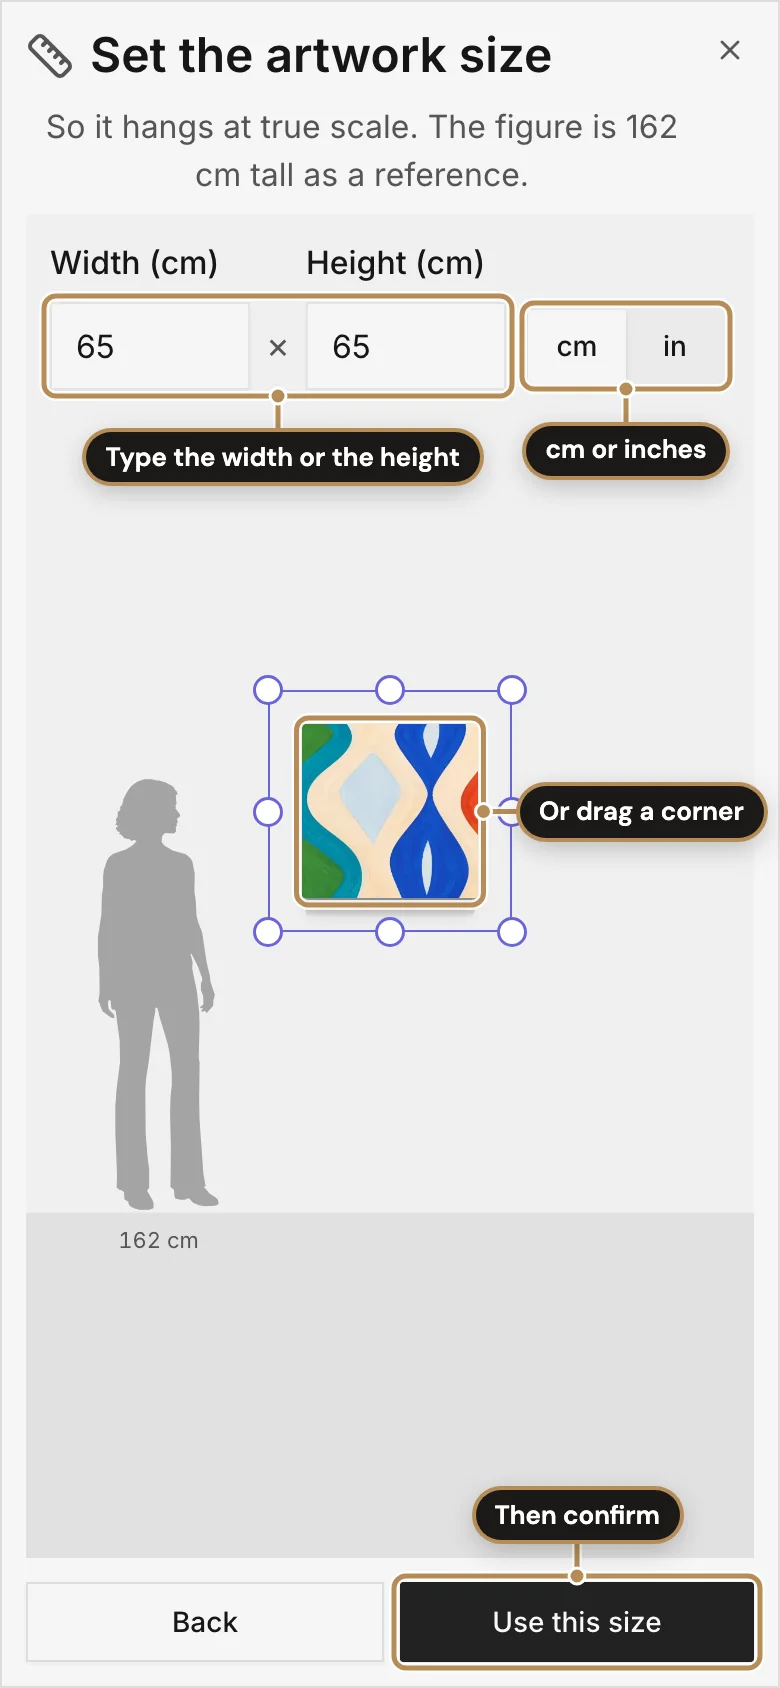
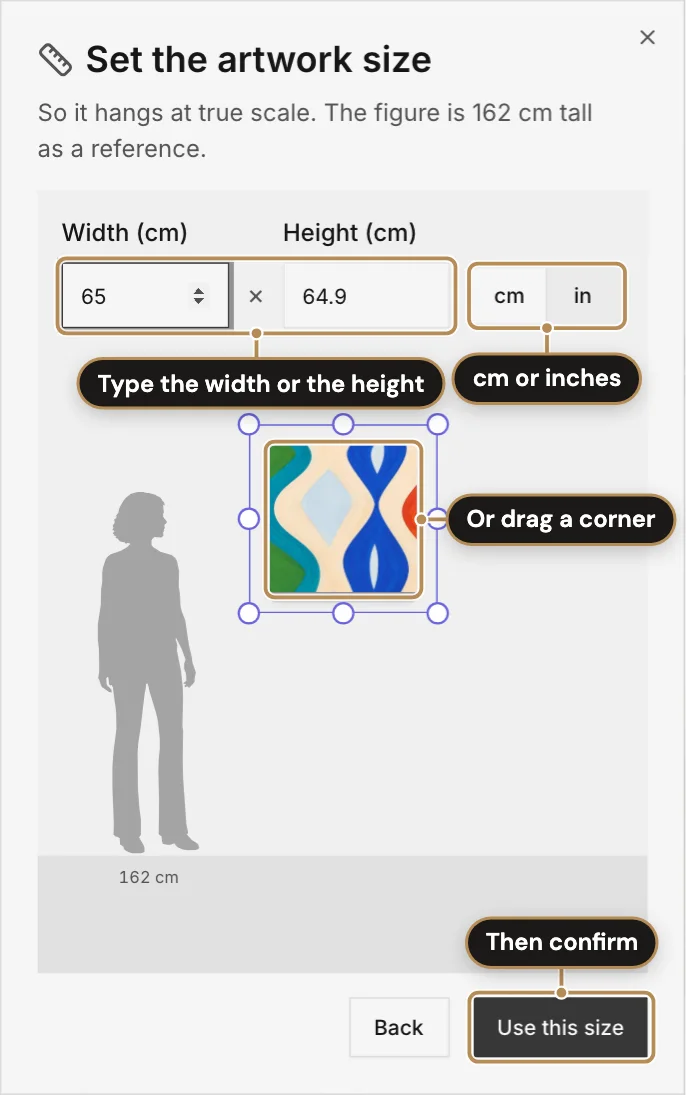
Click Add your artwork or + and choose a straight-on photo of your work. JPEG, PNG, WebP and iPhone (HEIC) photos all work; TIFF files don't, so save those as JPEG first. Then there are three short steps.
1. Crop
2. Size
3. Frame (optional)
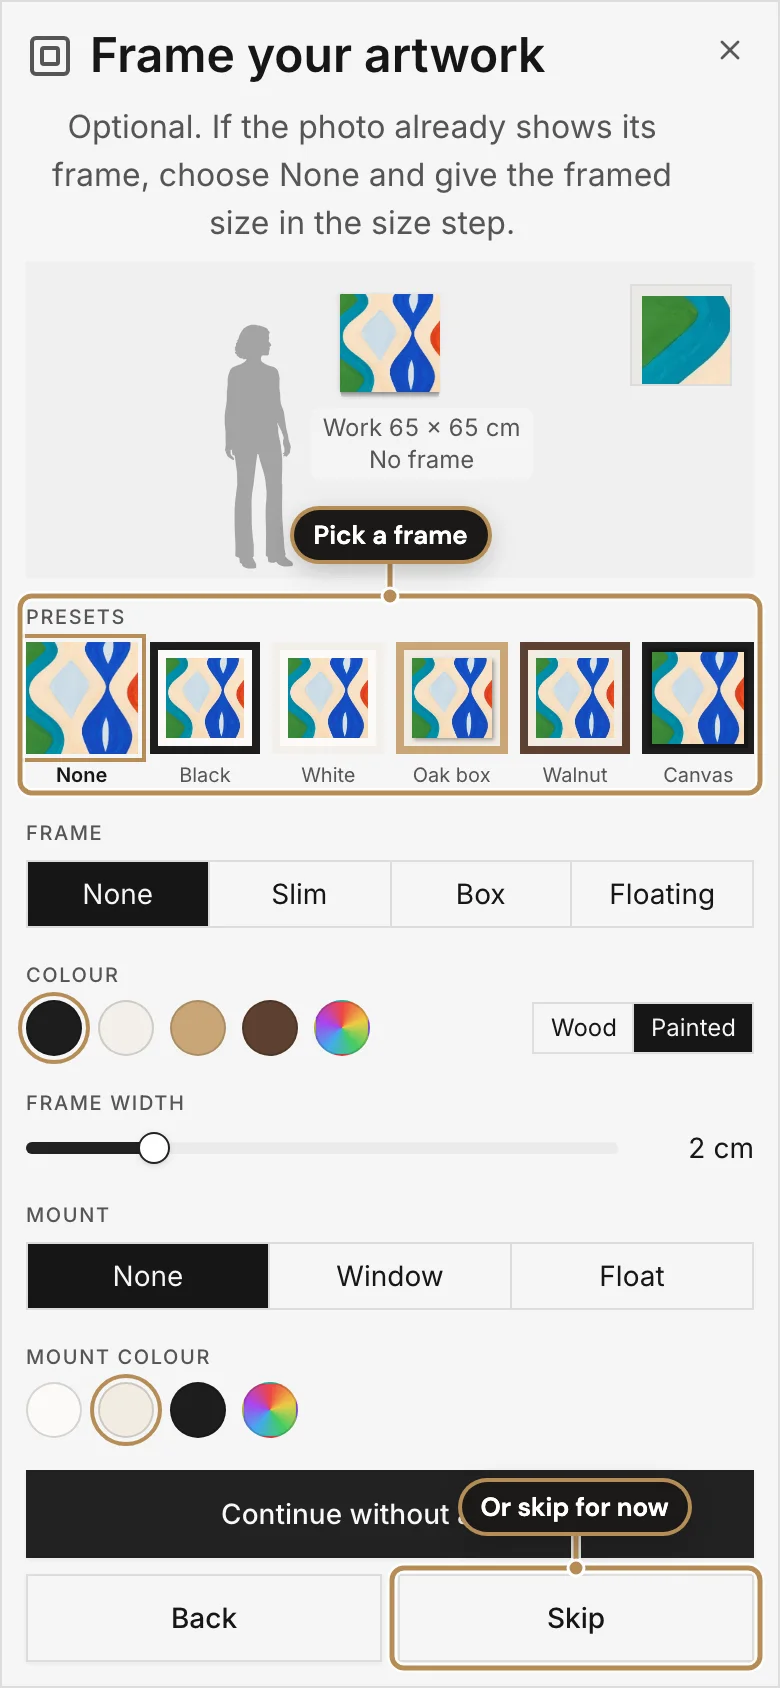
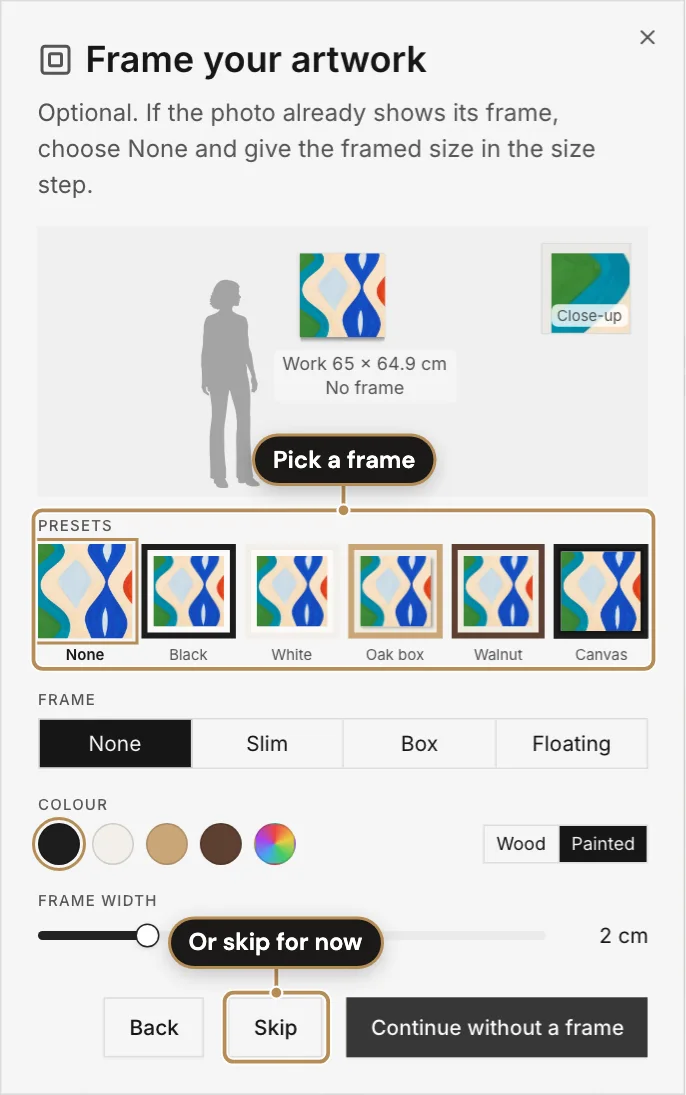
Give the size without the frame; the person beside your work is 162 cm tall, as a check. If your photo already shows a frame, choose None in step 3 and give the framed size in step 2.
Free accounts can upload 10 works in total, and deleting one doesn't give an upload back. The Artist plan holds up to 30 works at a time, so deleting one makes space. Pro has no limit. On the Artworks page you can upload several files at once.
The Editor
Open the Editor from Open in Editor on any room, or Editor in the bottom bar. Click the work to select it, then drag it to move it or drag a corner to resize it.
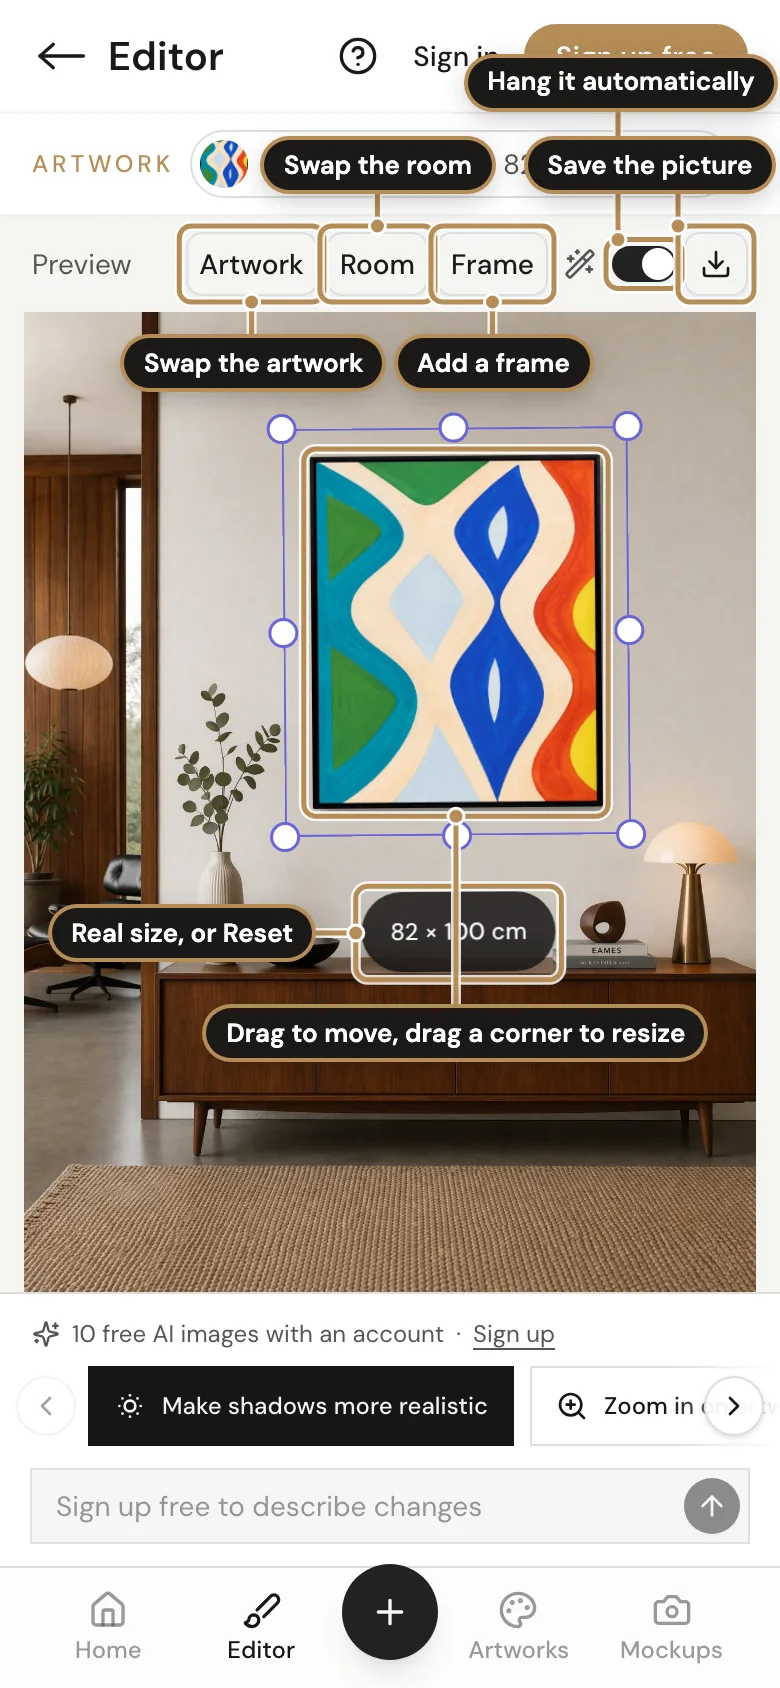
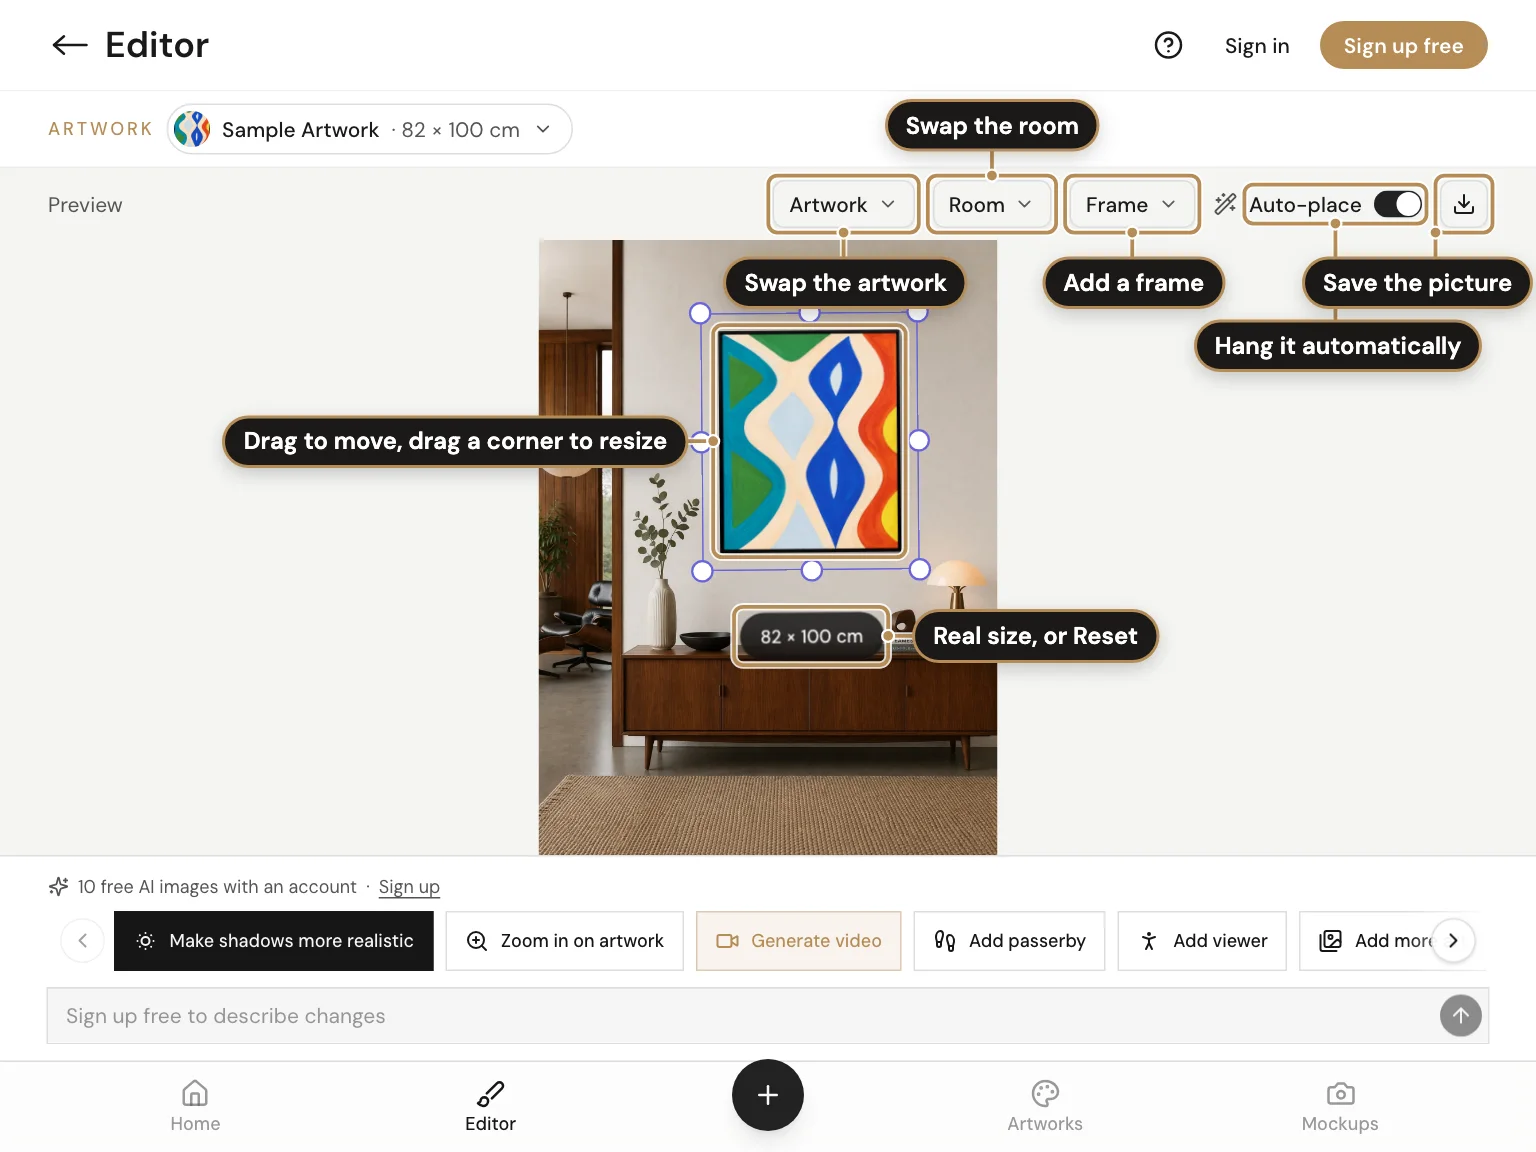
Resizing here only changes this picture: the label under the work shows its real size, or a percentage once you've resized it, and Reset puts it back. To change the work's actual dimensions, click your artwork in the strip at the top.
Auto-place hangs the work at a natural height and position for the room. Moving the work turns it off; switch it on to put the work back. Choosing a new room or artwork turns it on again.
Change the room
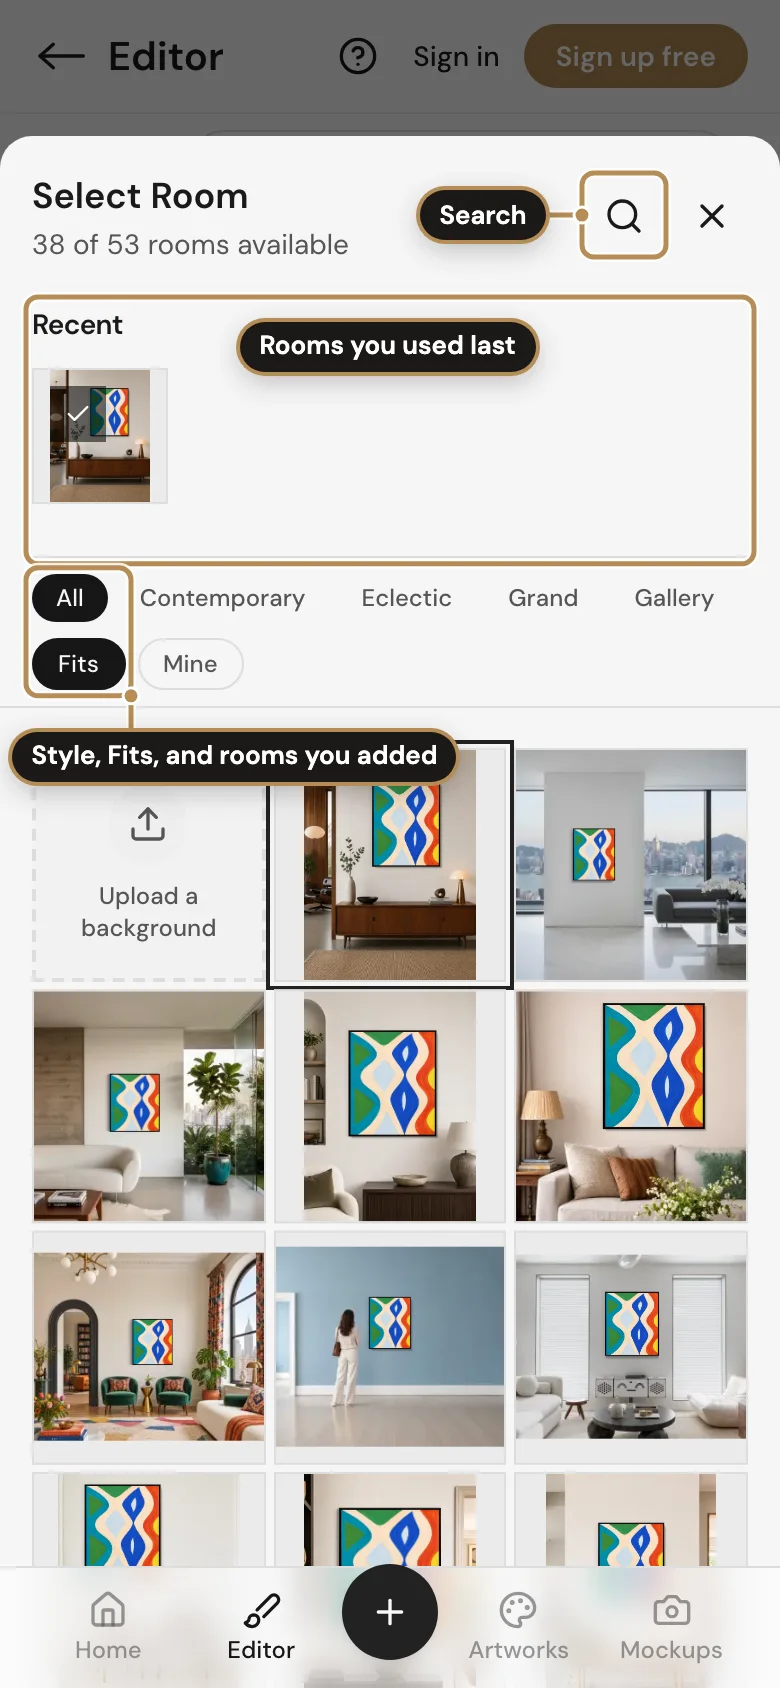
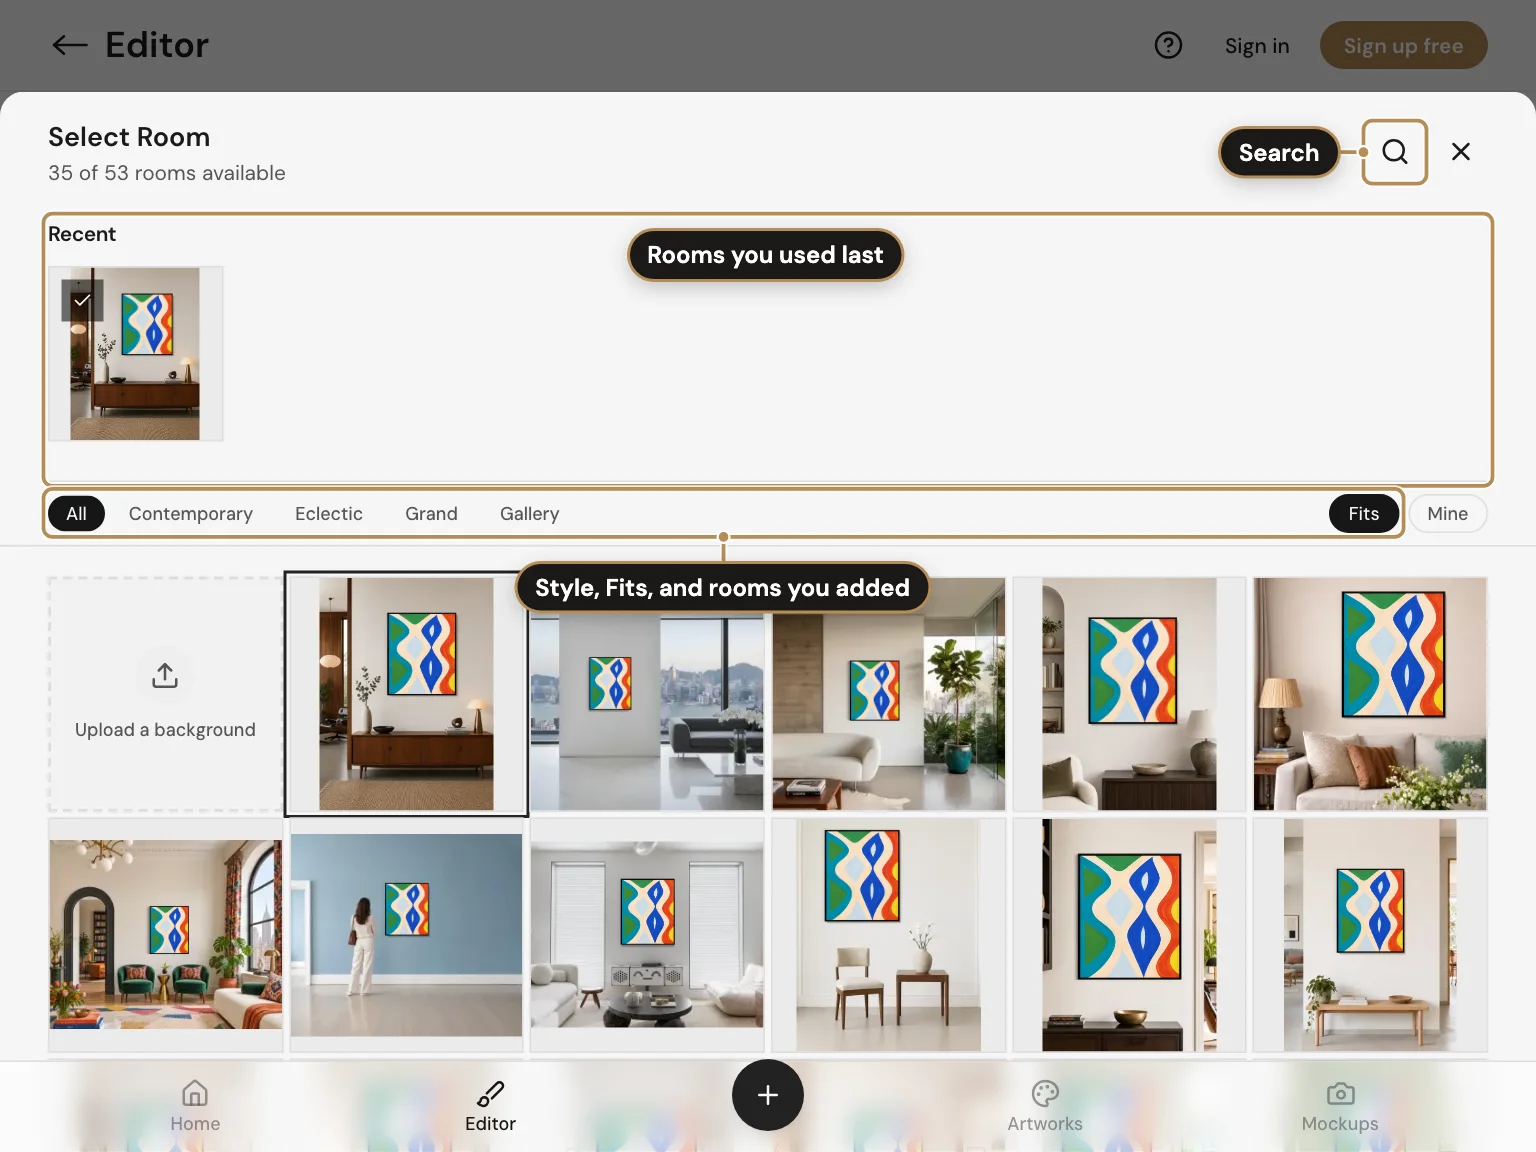
In the Editor, the Room button opens the whole library, with a search and the rooms you used last. Mine shows rooms you've added yourself.
Add a frame
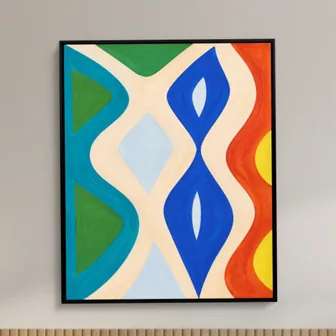
Click Frame beside your artwork on Home, or in the Editor's toolbar. Start from a preset, then adjust the style, colour, width and mount. In the Editor you can match the frame to a colour in the room or the painting: click the crosshair, then click the colour. On a phone, the settings under the presets are behind More options.
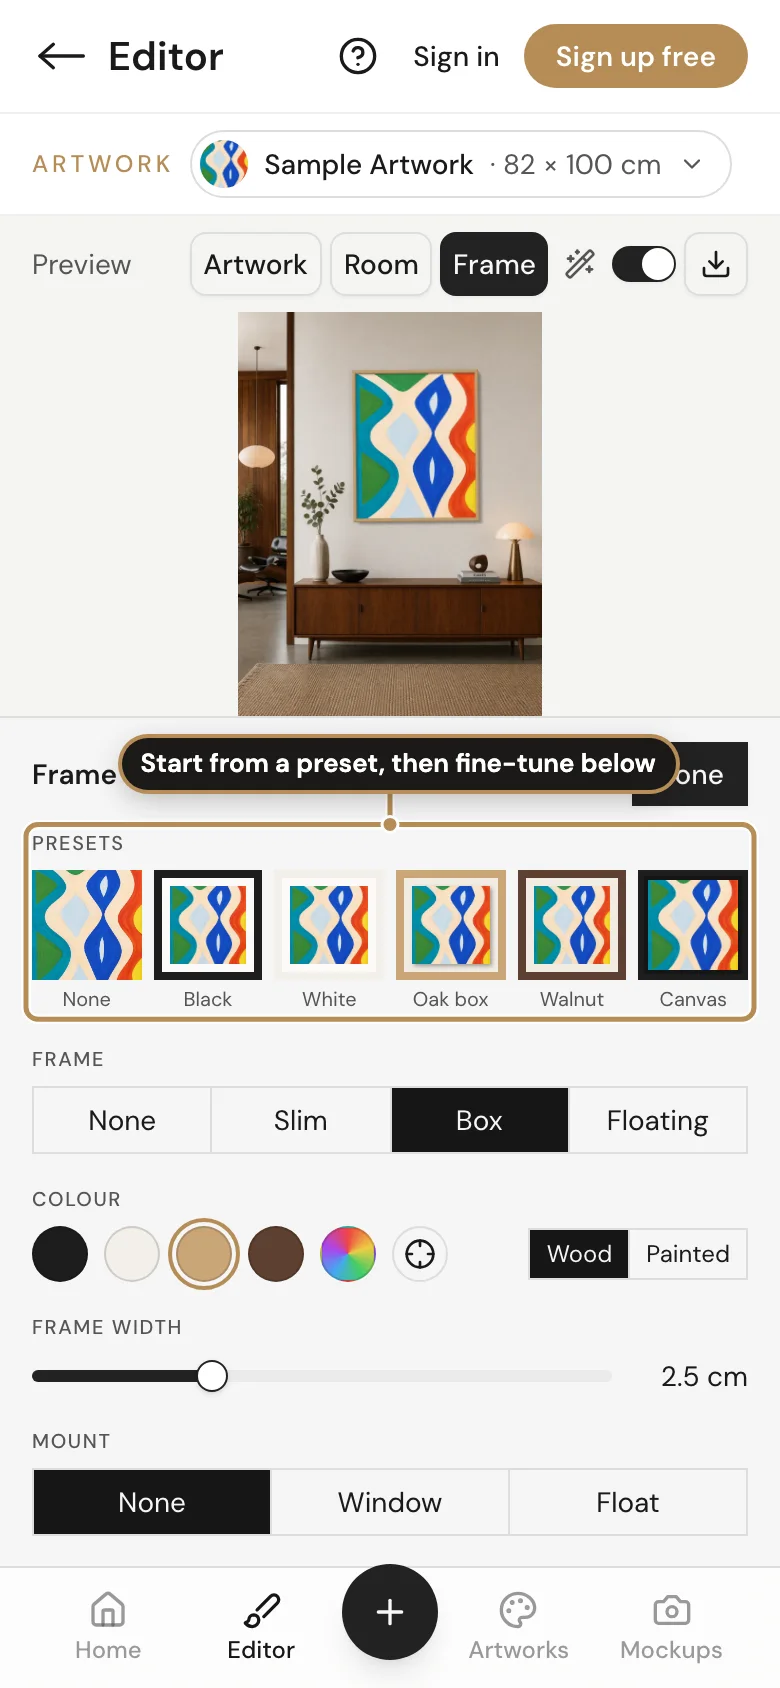
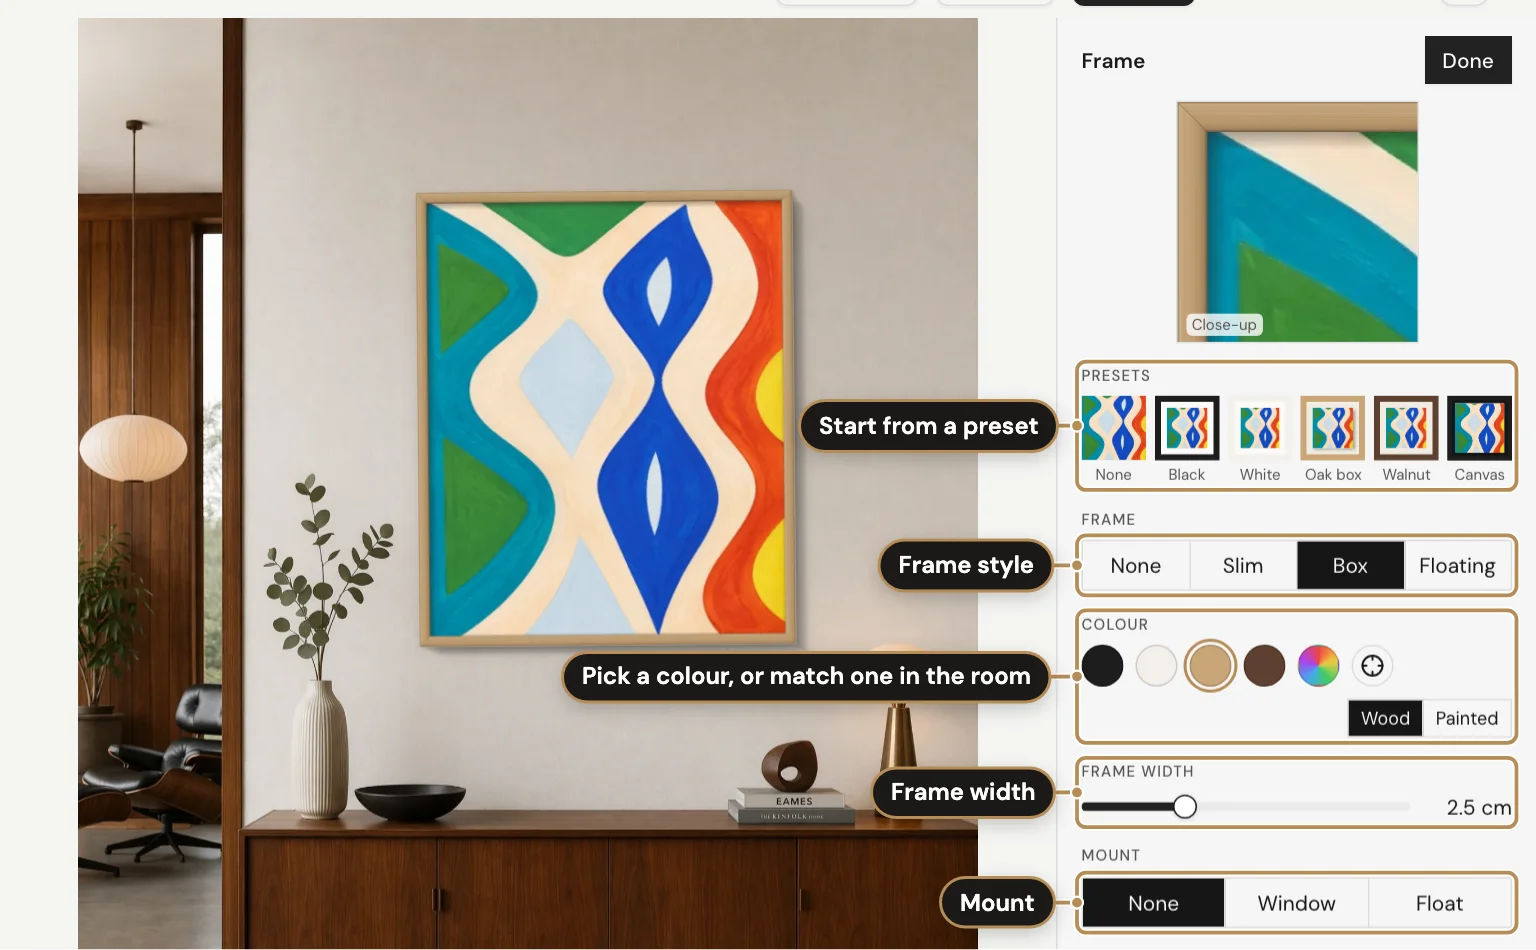
The frame adds to the work's size on the wall, so some rooms may stop fitting.
Make it look like a real photo
The buttons under the Editor's preview use AI to turn the preview into a finished photograph. Each one makes a new image and uses one AI image from your allowance. Start with Make shadows more realistic, which matches the shadows around the work to the room's light.
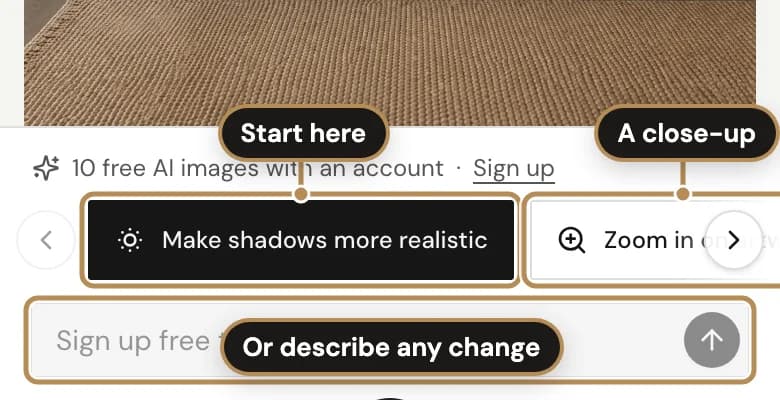

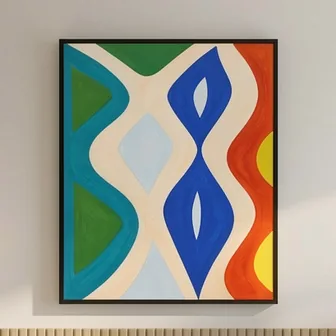
The other buttons add a viewer or a passerby, more art or flowers, or show the room from a different angle. To ask for anything else, such as furniture or lighting, type it in the box and press Enter.
After you make a mockup
Each result appears in a row under the picture, and the one you're looking at is marked AI Generated. The first thumbnail, Preview, takes you back to the editable view.
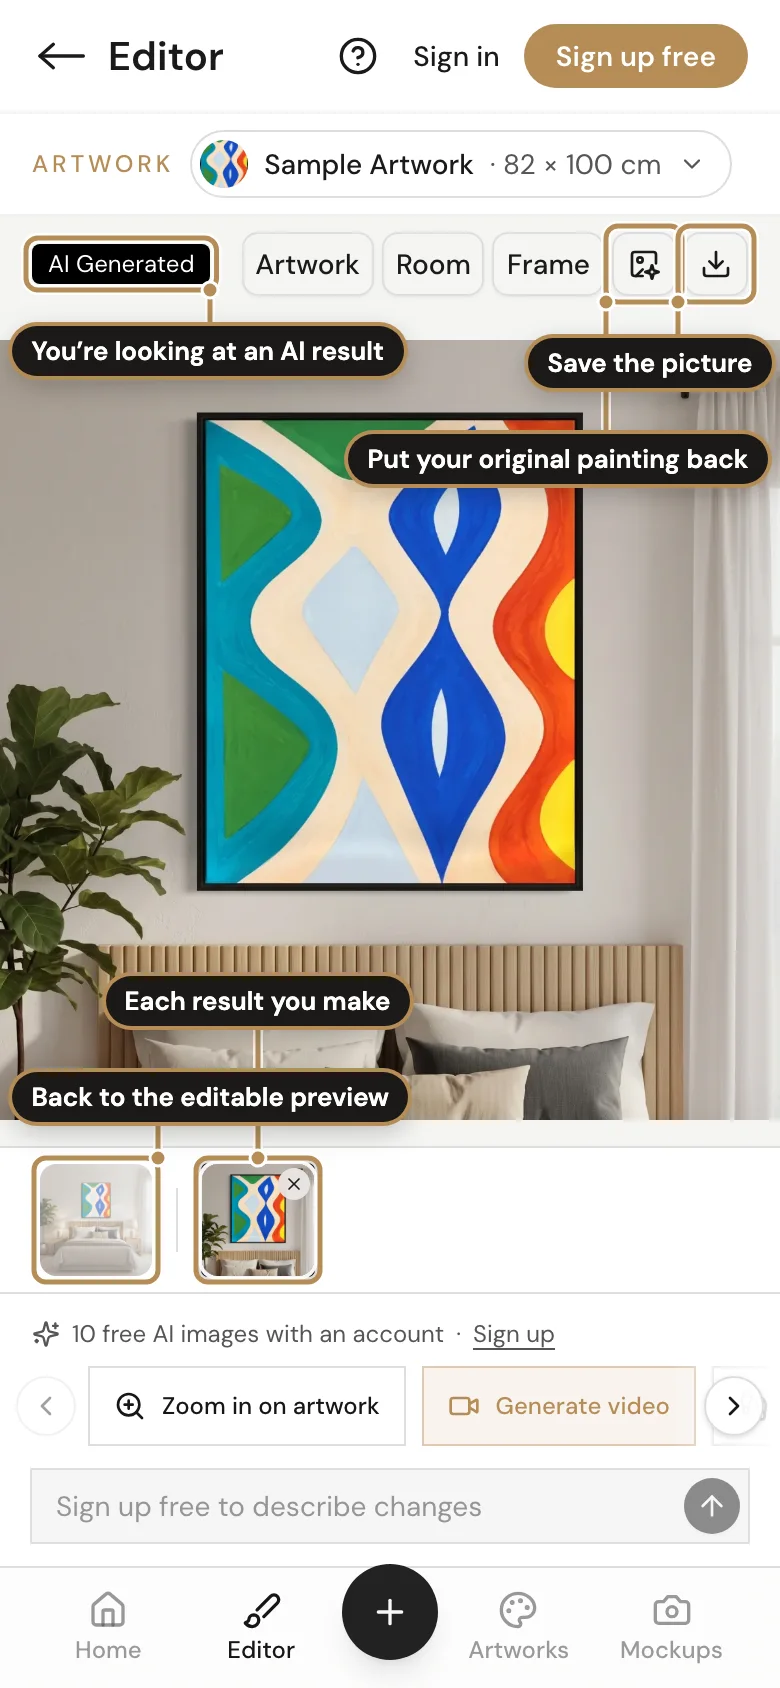
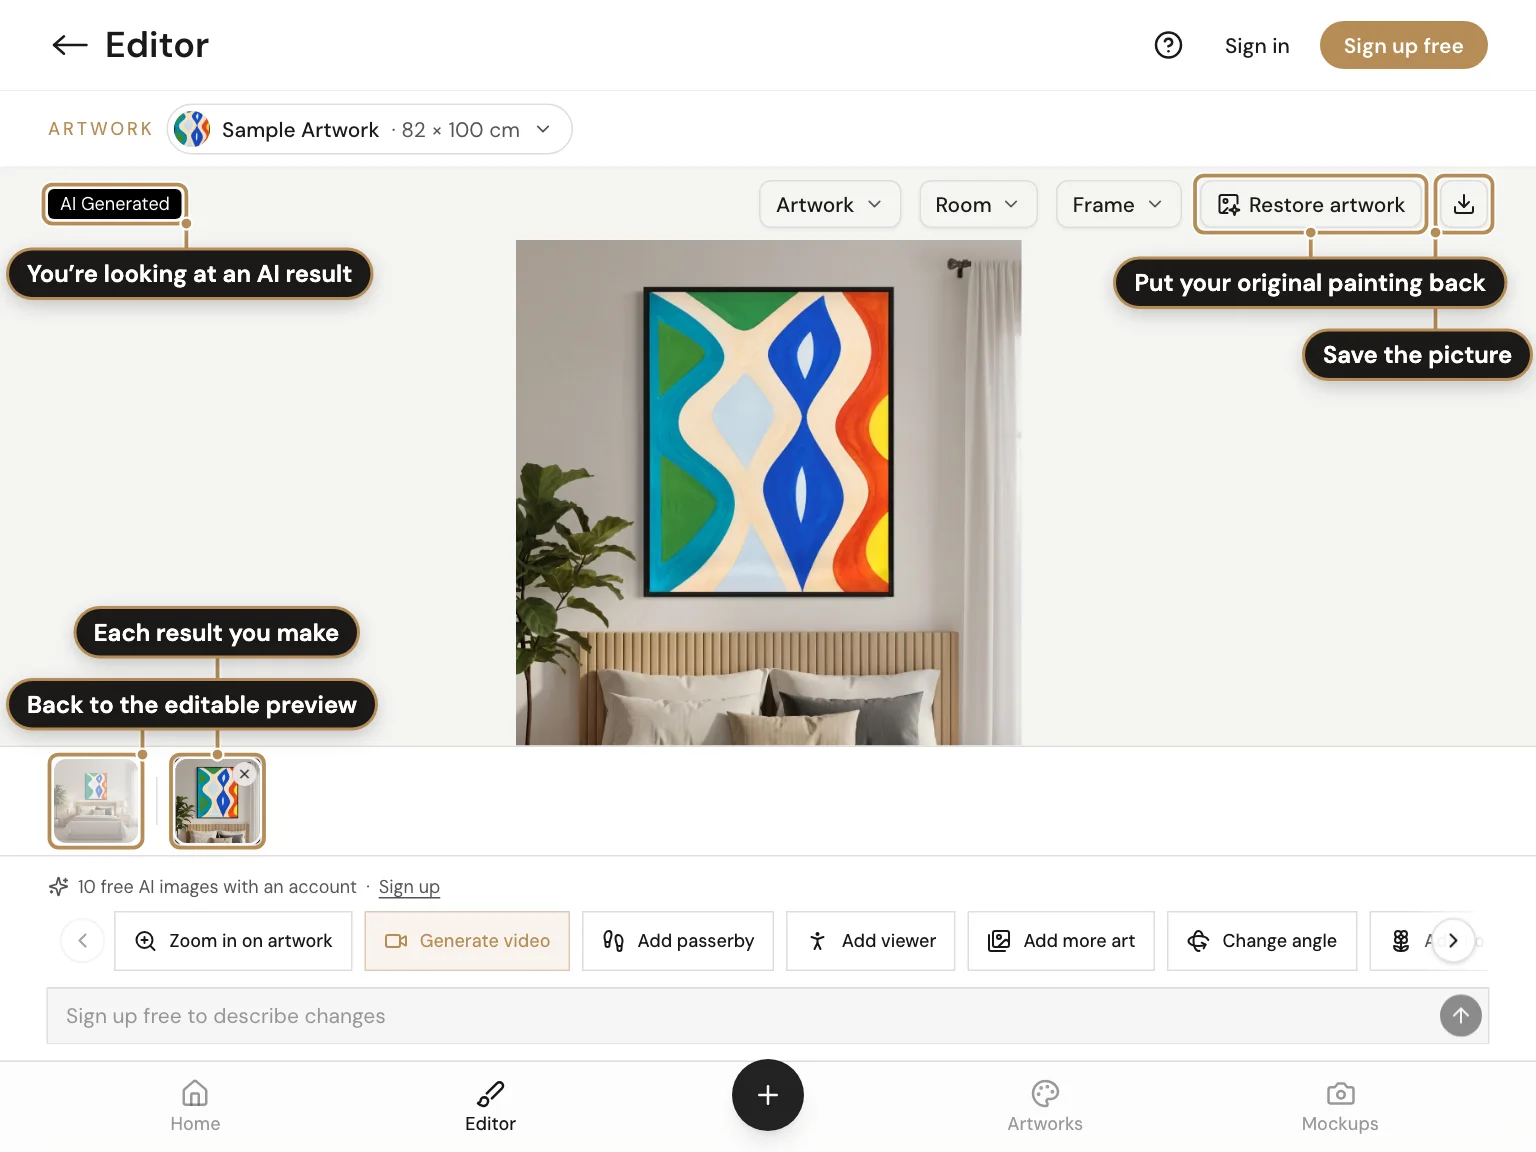
- AI sometimes repaints details of the work. Restore artwork puts your original painting back over the AI's version, and Adjust placement in its menu lines it up.
- With a result selected, the buttons and the box edit that image, so you can build up a scene step by step. Make another version tries the same request again.
- Every result is saved to Mockups automatically. The × on a thumbnail deletes it.
How many you get
Free accounts get 10 AI images to try, once. Artist includes 20 a month and Pro 200 a month. The number you have left appears above the buttons when you're running low, and in Settings.
Make a video
Click Generate video under the preview to make a short moving clip of the scene, about six seconds long, from the preview or the result you have selected. It appears in the row of thumbnails and in Mockups when it's ready. Make another video tries again.
Videos have their own allowance: 1 to try on Free, 2 a month on Artist and 20 a month on Pro.
Download and share
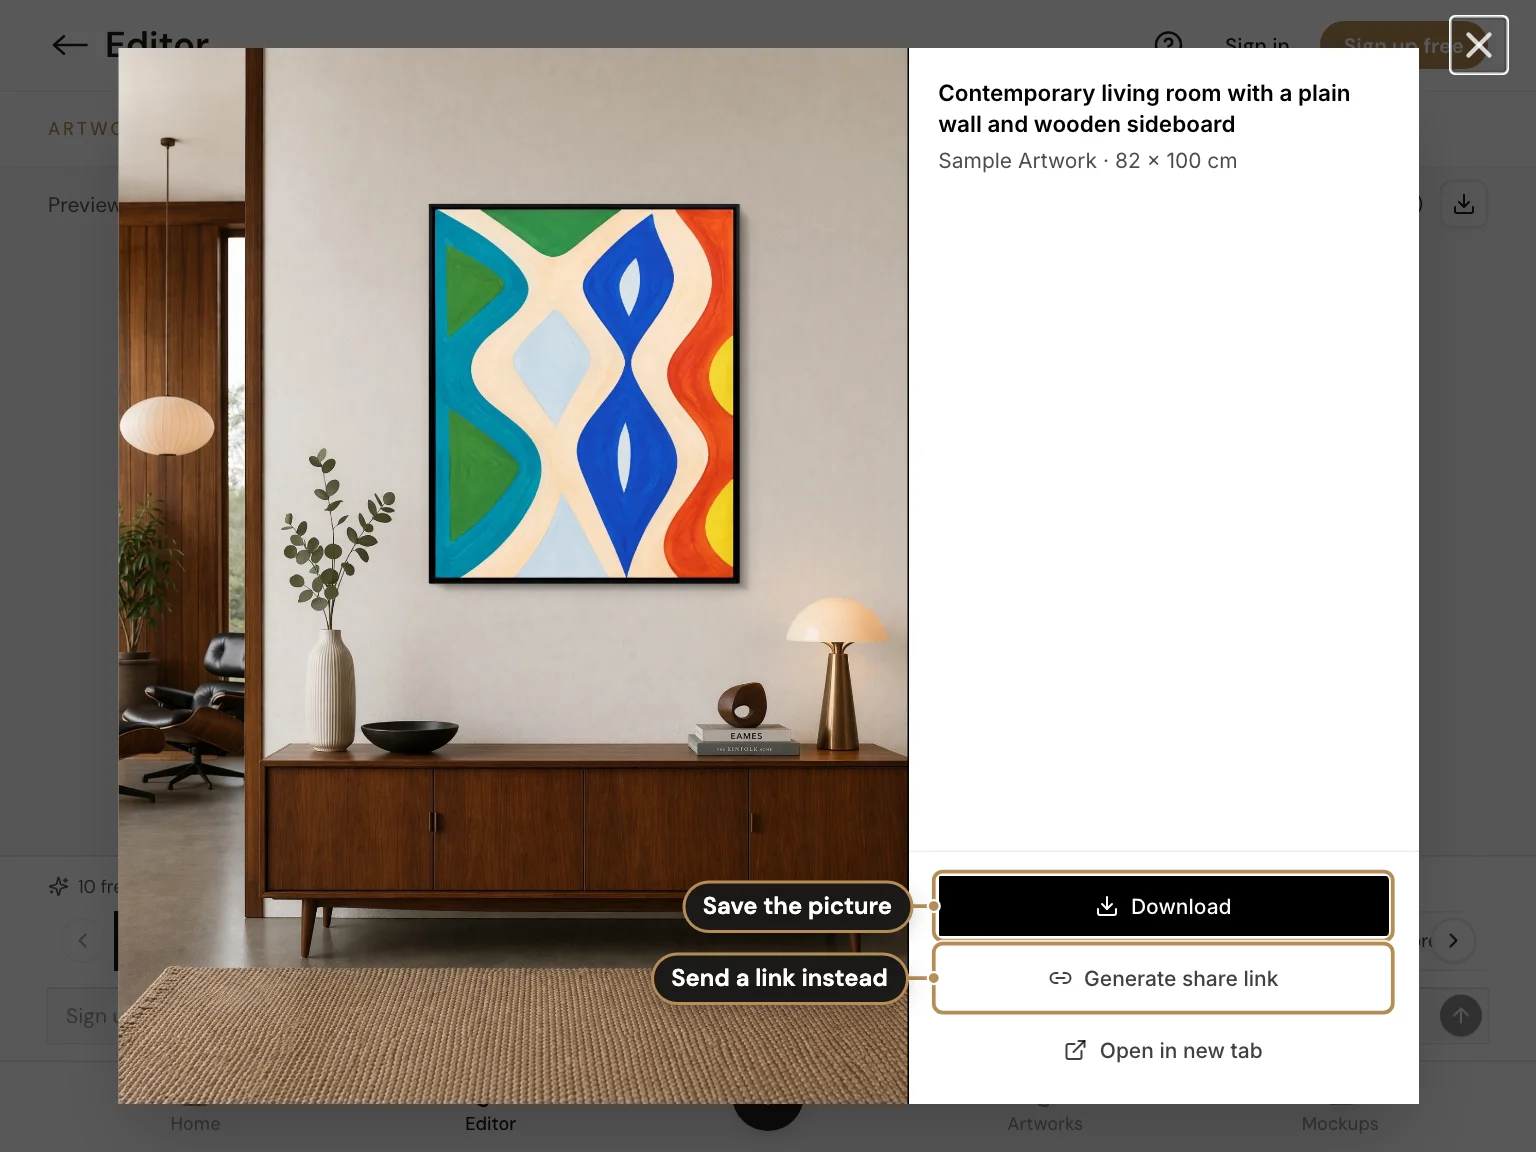
Download saves whatever is selected: the preview, an AI image or a video. On a phone, it opens the share sheet, so you can save to Photos or send it straight to another app. Pictures are high-resolution JPEGs with no watermark, on every plan. To send someone a link instead, click the preview in the Editor to open it full size, then Generate share link (this needs an account).
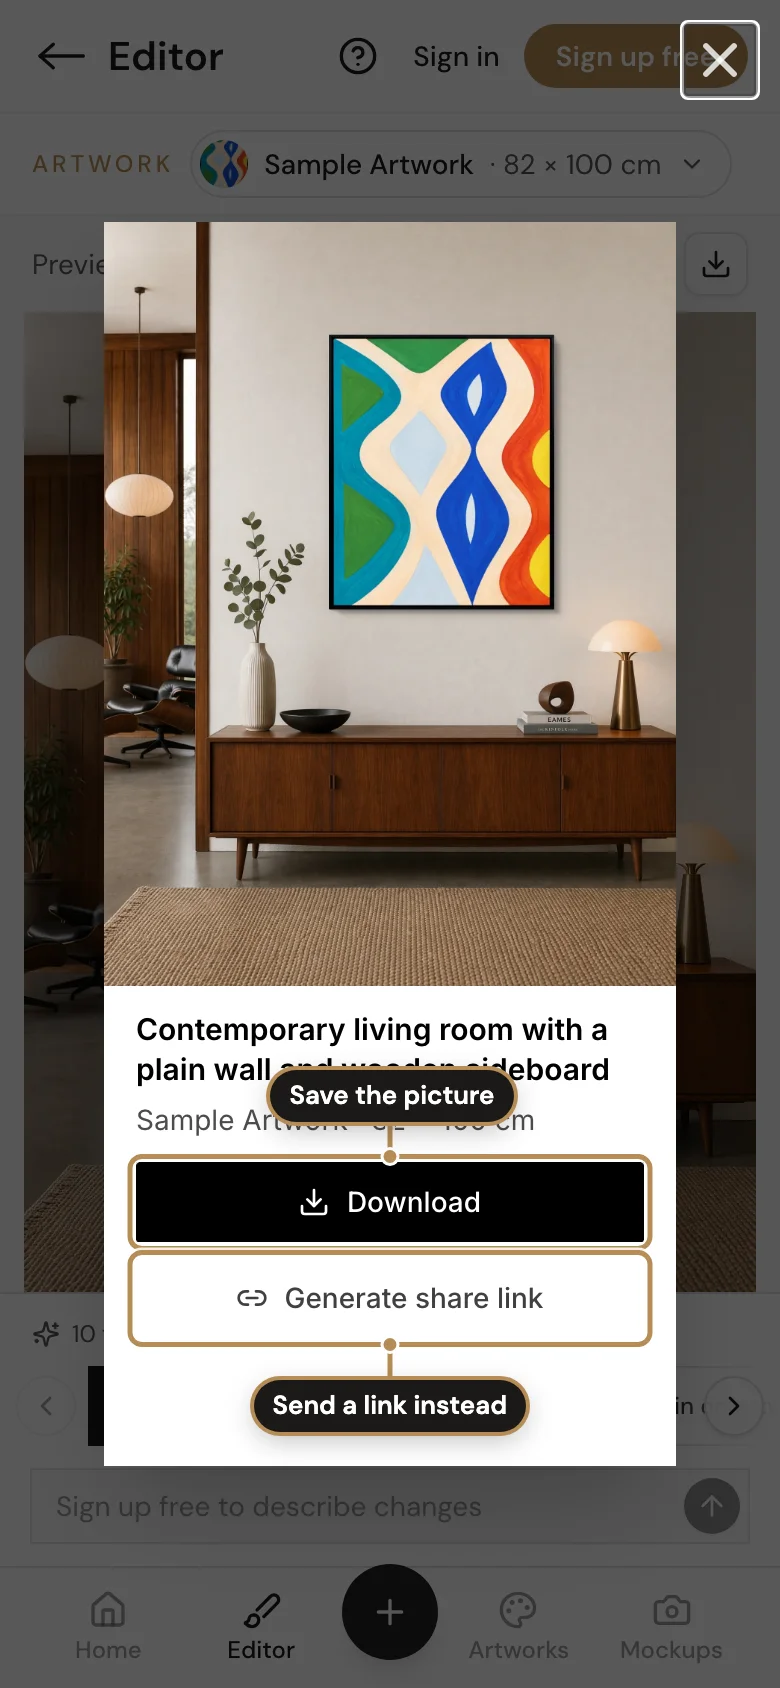
Free accounts can download 15 previews a day and 30 a month; AI images and videos don't count towards that. Artist and Pro are unlimited.
Artworks, Mockups and your rooms
Artworks
Every work you've uploaded. Click one to change its title or size, or See in rooms to hang it on Home. On a computer, hover over a work for the edit and delete buttons.
Mockups
Every AI image and video you've made. Click one to Download it or Open in Editor, which brings back its room, artwork and placement so you can carry on. Room previews you download aren't kept here, so save those when you make them.
Create a room with AI
Go to Settings and click Open backgrounds, then click the Create Room tile (Create with AI on Pro). Describe the room you want, or click Show suggestions to pick a period, place, colour palette and objects, then click the ✨ button. It takes up to a minute and uses one AI image. The new room is saved under Mine.
Use a photo of your own room
On Pro, you can show your work in a real space, such as your studio, a client's home or a gallery wall. In the Editor, click Room, then Upload a background. Use a JPEG, PNG or WebP under 15MB.
- Crop the photo if you need to.
- If there's already art on the wall, choose Remove artwork to clear it or Keep artwork.
- Set the room's scale: drag the chair onto the floor and resize it to match the room. The chair is 79 cm tall, which tells us how big everything else is.
- Click Add background. The room appears under Mine.
Settings and plan
Open Settings from the account icon at the top right. There you can see your plan and how many AI images and uploads you've used, change your password, manage or cancel your subscription, and delete your account. To compare plans, see pricing.
Keyboard shortcuts
- ⌘K (Mac) or Ctrl+K (Windows) opens quick actions: jump to any page, add a frame or run any AI action, including Generate 4 variations, which makes four different shots at once.
- ← and → step through rooms or results in a full-size view; Esc closes it.
- Esc deselects the work in the Editor.